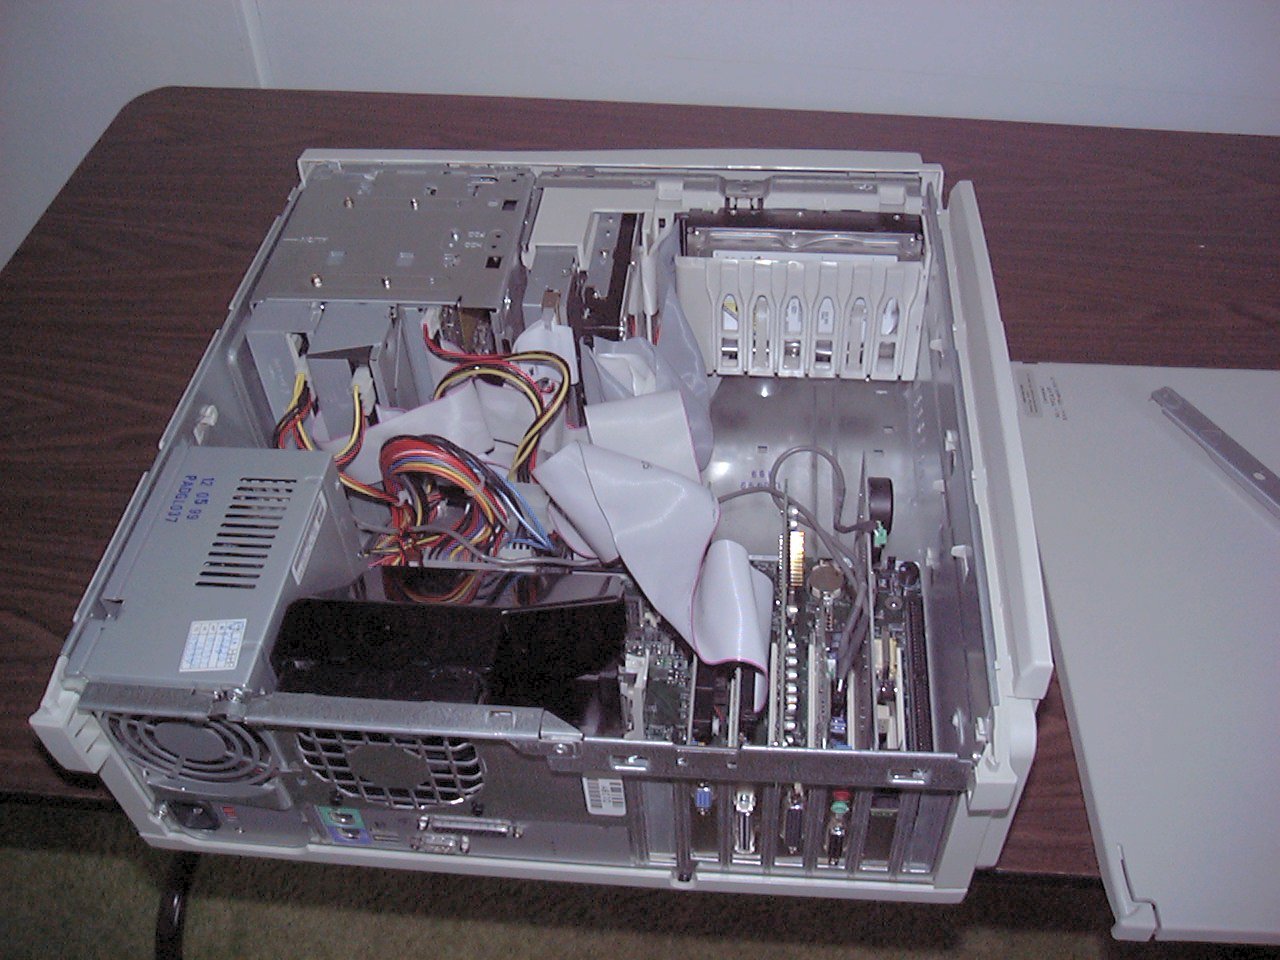
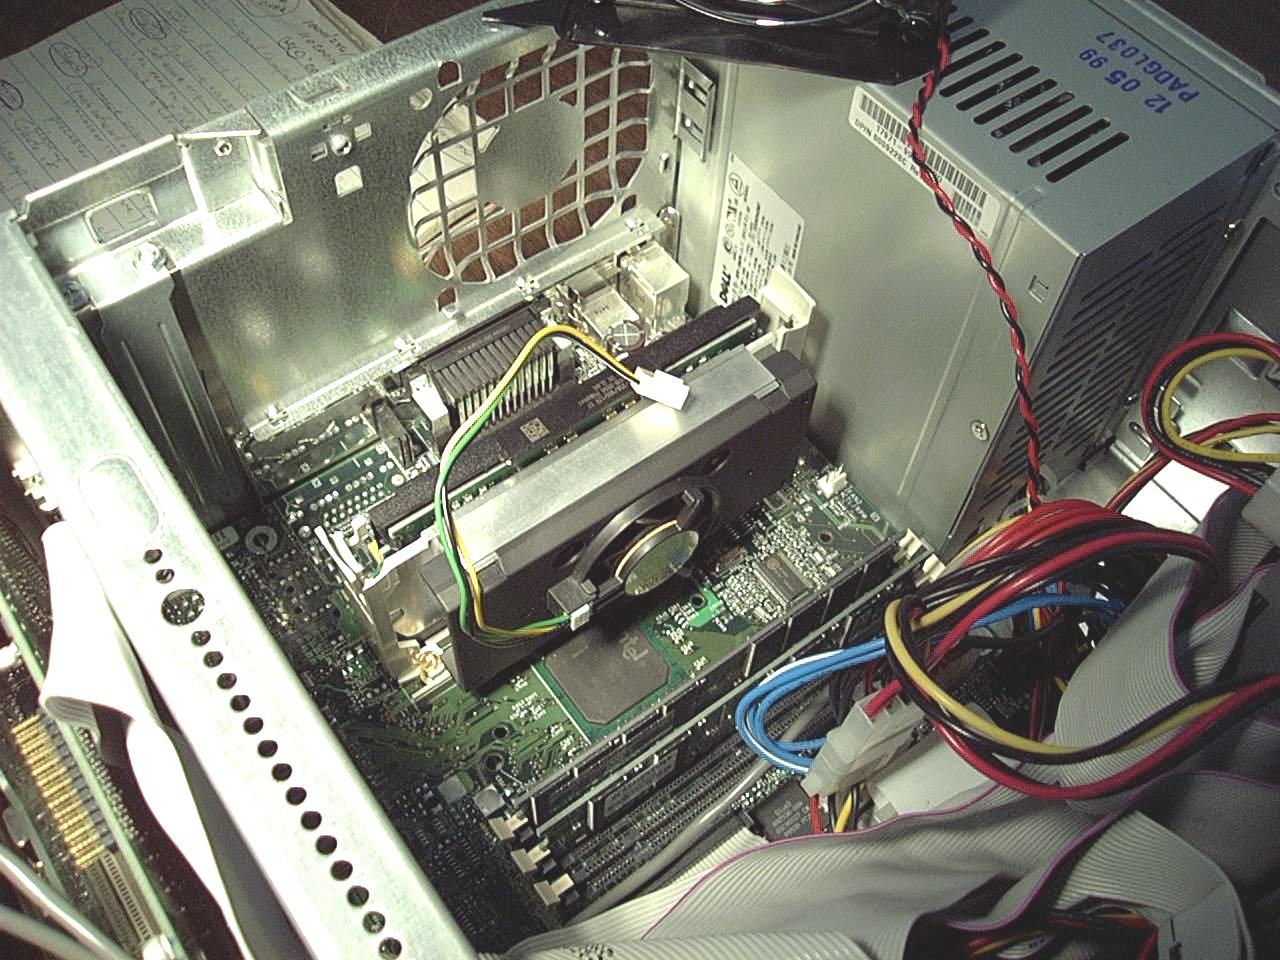
| Step 1: Original computer with the left side case and case X-brace removed. |
|
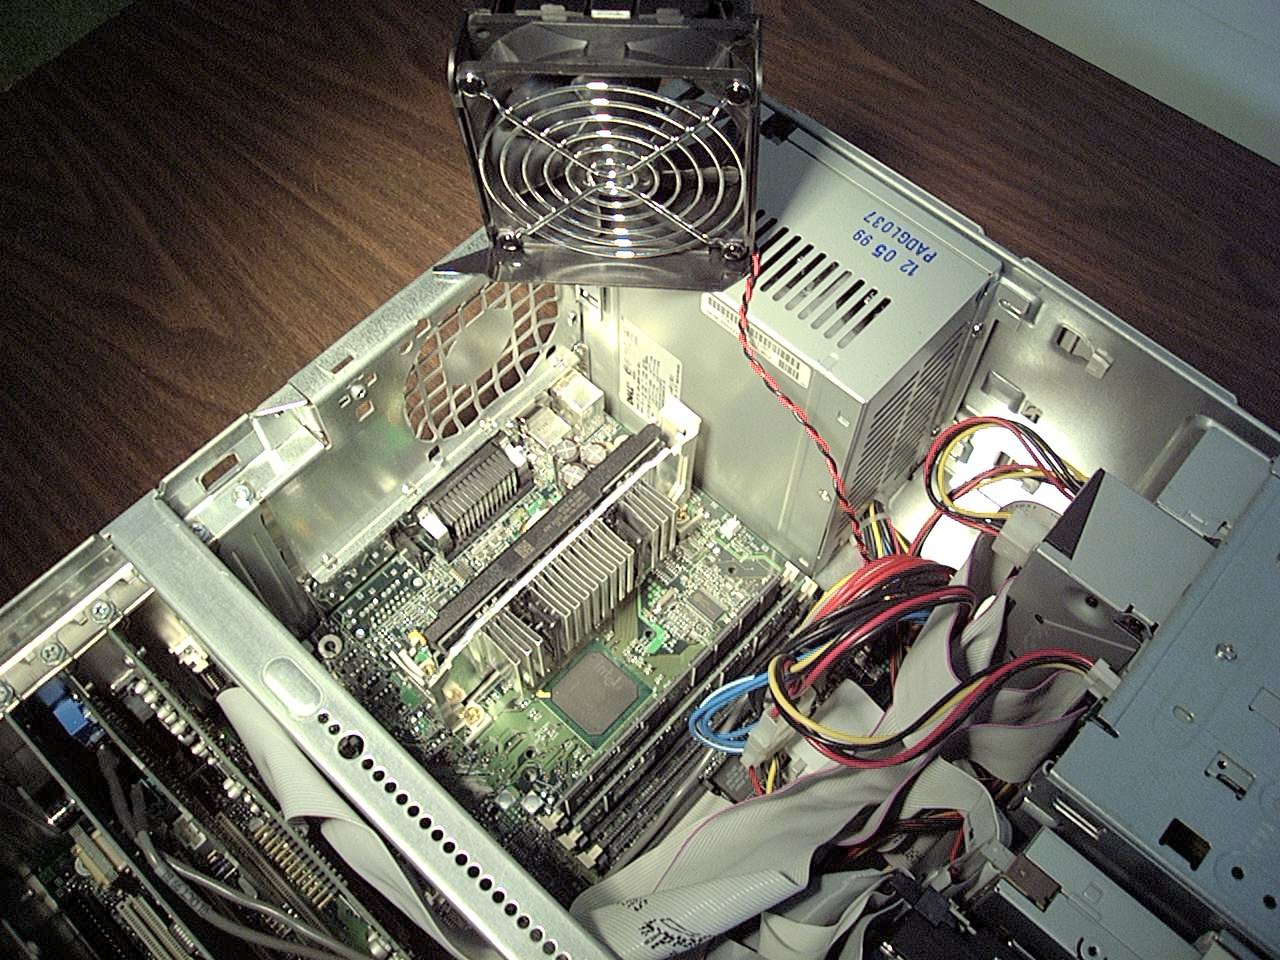
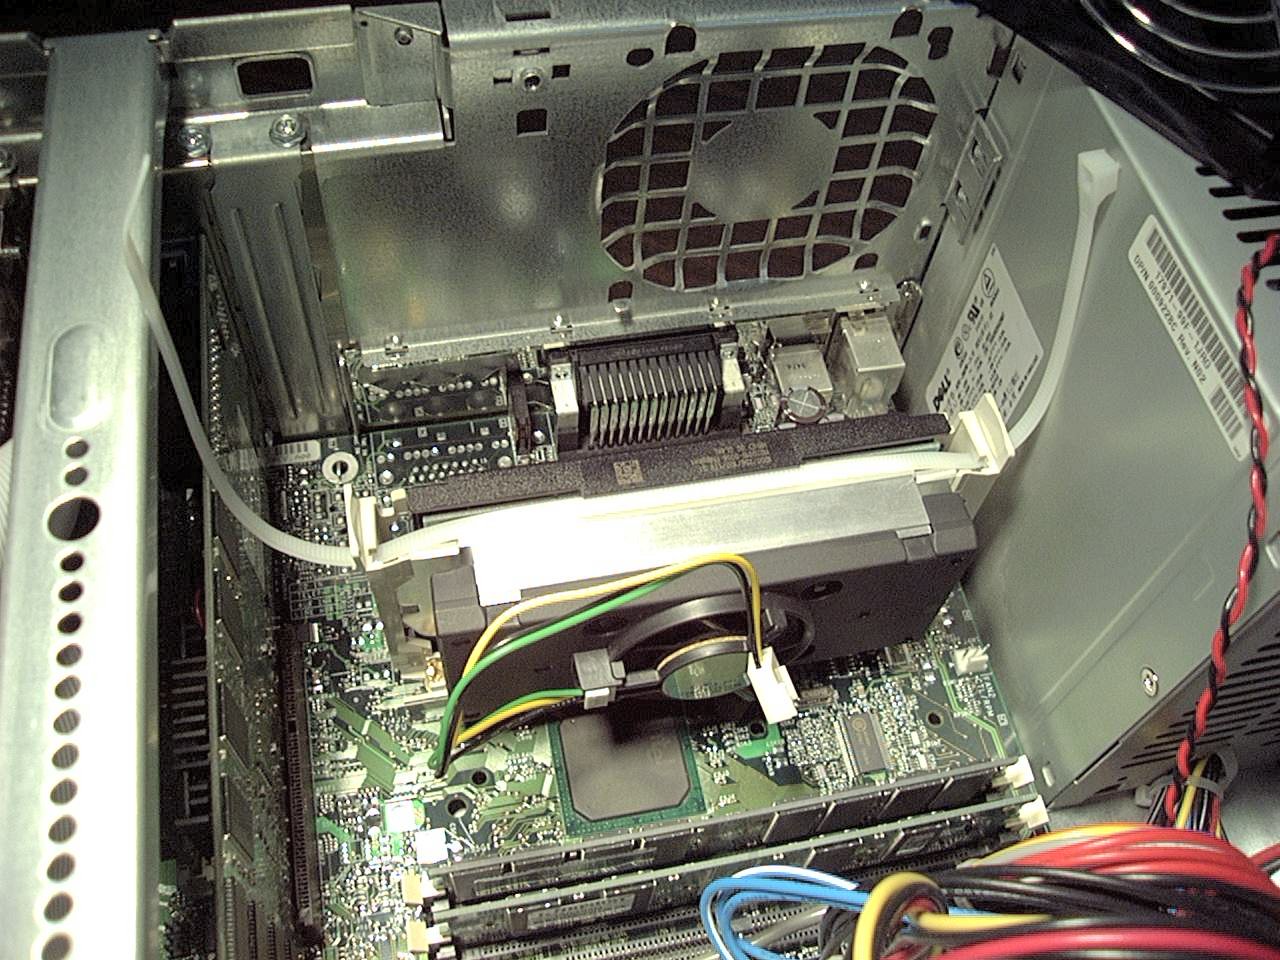
| Step 2: Removal of existing processor cooling fan shroud. |
|
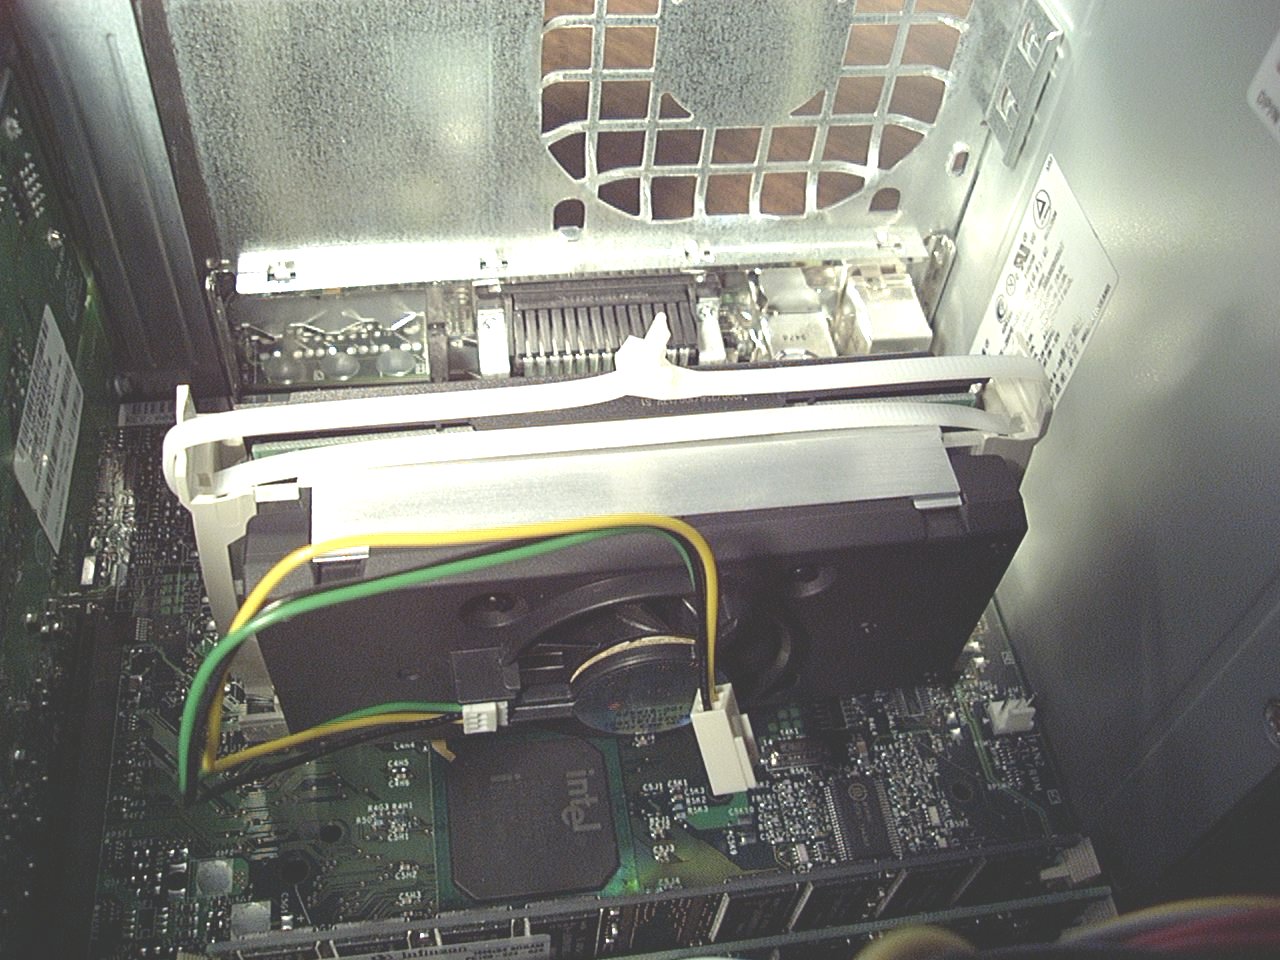
| Step 3: For easier access to existing computer processor, remove and set aside the original processor fan. (No need to un-plug from the motherboard connector (J7M1). Just push in 2 small plastic tabs on the top outside of the fan and raise straight up on the fan. A slight push inwards helps. |
|
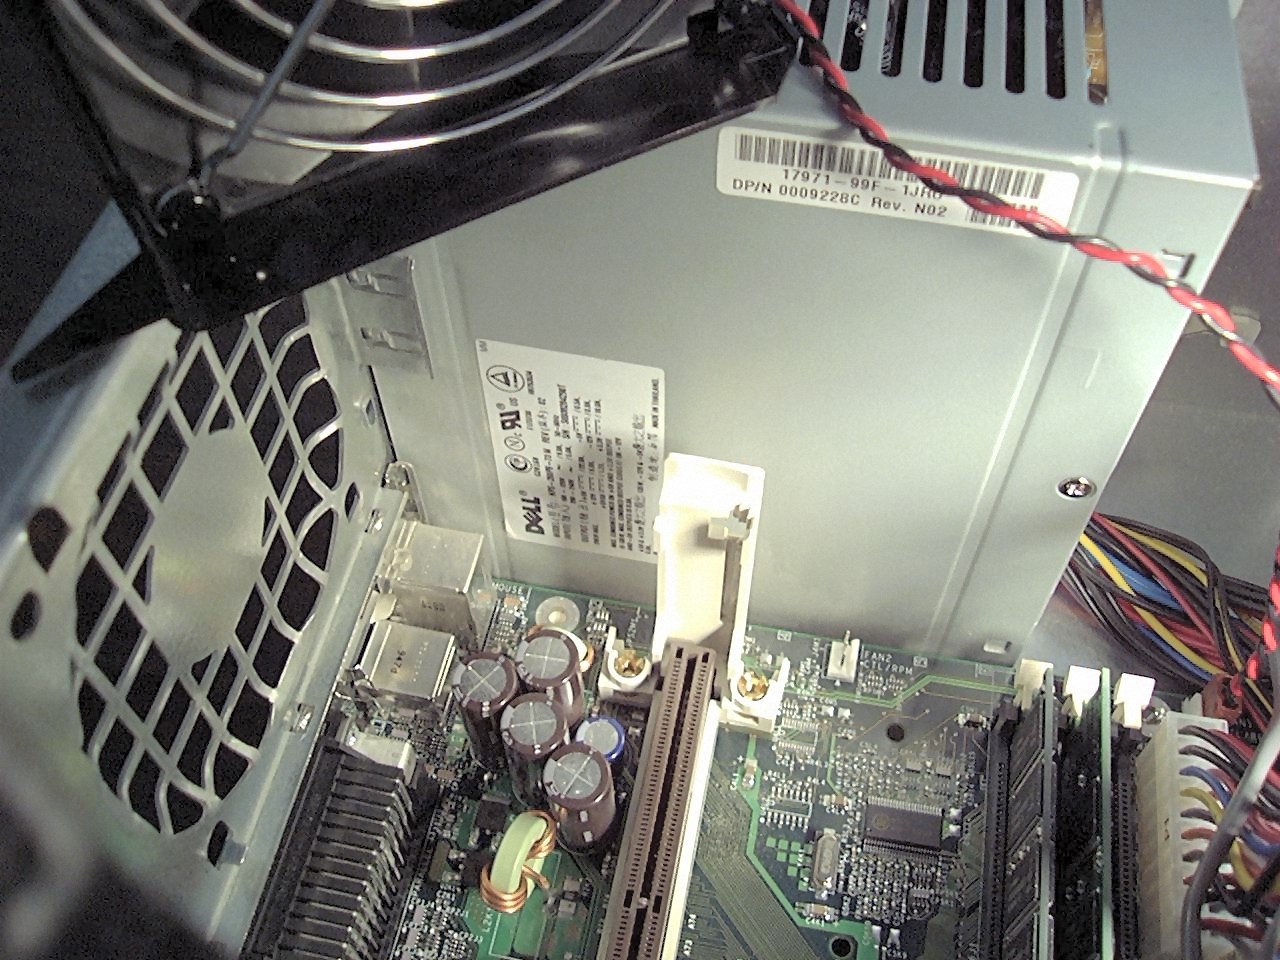
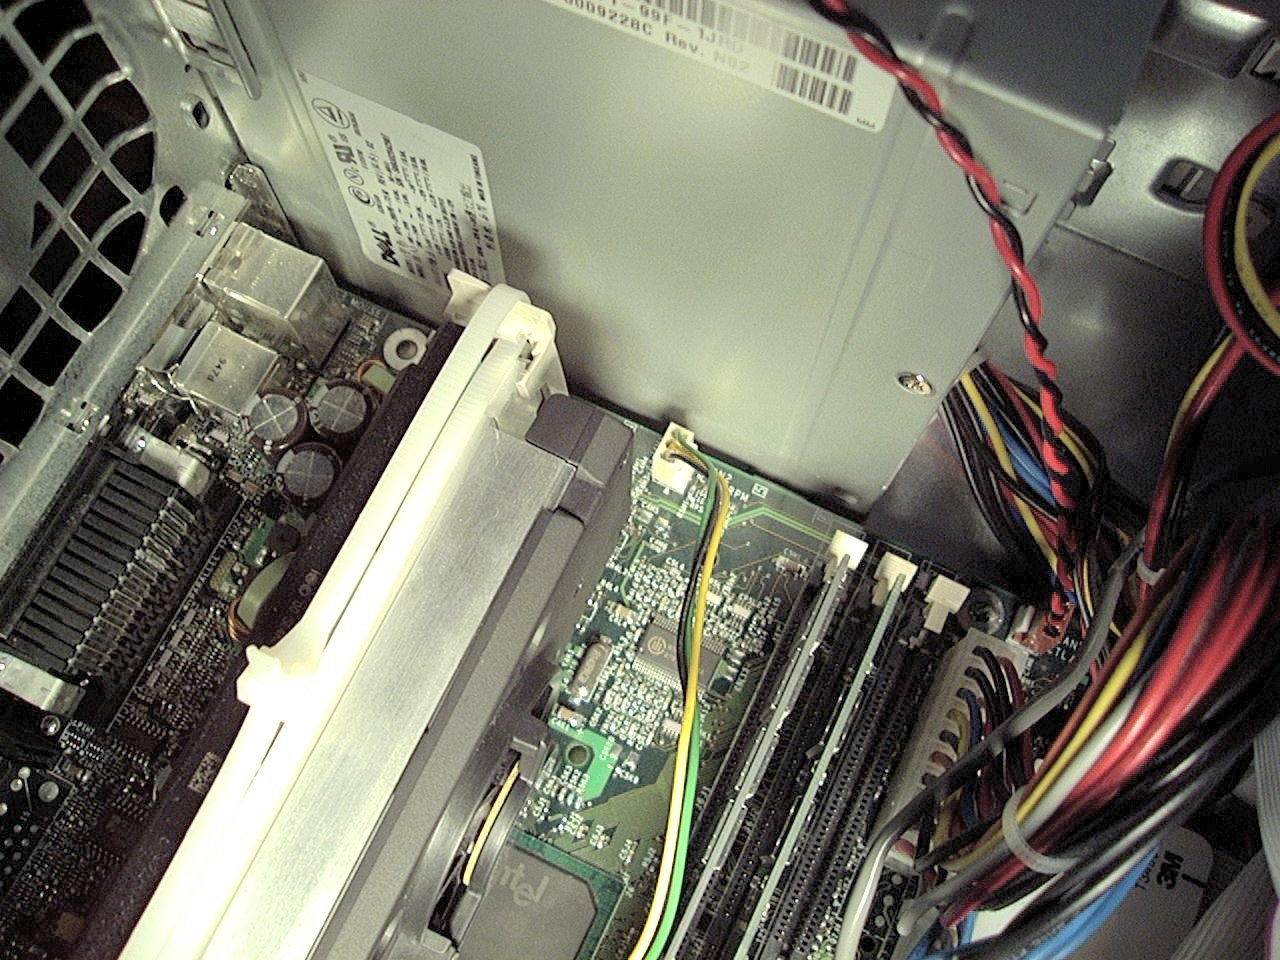
| Step 4: Remove original Intel Pentium III processor. Just push outward on the top on each end of the processor "Retention Clips" and pull upward on the old processor. |
|
| Step 5: Close-up of retention clip on one side. |
|
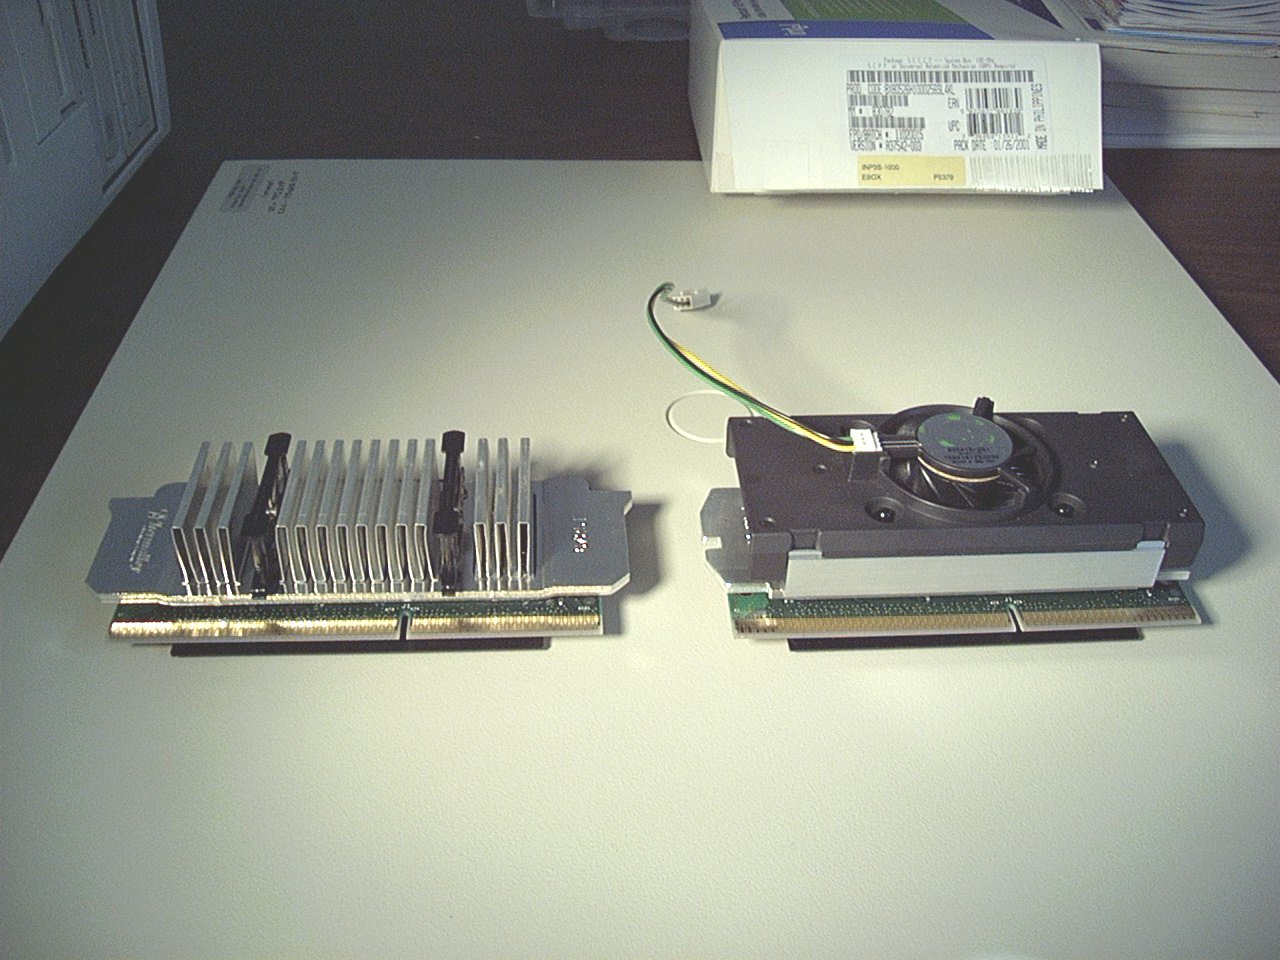
| Step 6: Closeup Photo of original processor on left (Pentium III XPS T700r) and new Pentium III 1 GHz 256Kb Slot 1 Boxed SECC2 100FSB on right. (Ed. note: Intel part number is BX80526H1000256) |
|
| Step 7: Insert new 1 GHz. Processor in original Slot 1 making sure all pin contacts are properly fitted, lined up and push straight down on the top of the processor until seated well. (Retention Clips may have to be slightly pushed outward for access of new processor) |
|
| Step 8: (OPTIONAL STEP) Since the original Retention Clip does not fit the new processor due to it's total width, I elected to use the "OLD PLASTIC TIE WRAP TRICK" to secure the new processor tightly in the downward direction. Just thread the tie wrap through the holes on each side of the original retention clip and pull together tightly and then cut off the excess length of tie wrap. In my case I had a tie wrap that was long enough (approximately 15") to use just one. Depending on the length of tie wrap used, you might have to put two together. This "Trick" works great and really secures the new processor in it's slot very well. |
|
| Step 9: Closeup of "Tie Wrap" secured and in place. |
|
| Step 10: Connect the new processor fan electrical leads to the motherboard connector (J4M1) located just off the end of the processor, on the power supply side of the processor. Note, the small end of the new lead fits on the new processor fan and the big end fits on the motherboard connector J4M1. |
|
| Step 11: Replace the original processor fan to the back of the case.
Note, leave the original "Fan Shroud" off, as it won't fit now and is not
need for cooling of the new processor. It will work great for a
motherboard and chasis fan. PROJECT COMPLETED ! Replace the side panel of the case and you are done (Don't forget to replace the case "X-brace" strap. |
|
| Step 12: The only thing missing now is a new Intel Pentium III sticker for the front of the computer that shows it's running a 1 Ghz.processor ! (I will make my own just to finish the job !) A new small "Intel Inside--Pentium III" sticker comes with the new processor packaged material. |
|
| Step 13: Photo showing the computer up and running and Intel's program
Processor Frequency ID Utility ver 3.5 showing on the screen. Please
note that the check indicates the "Reported Frequency" as 1.0 GHz and the
"Expected Frequency" shows as 1.0 GHz. Also, the "System Bus" shows as 100
MHz for both. You can check the "CPUID Data" tab to show other processor
details as well. Oddly enough, when I first booted up the computer with the new 1 Ghz Processor, I looked at the bootup information and the old line that used to show "Intel Pentium III 700 MHz" now reads "Intel Pentium III @ x00 MHz". However, on a new additional line it shows "Intel Pentium III @ 1000 MHz." Also, When I checked the CMOS "SETUP" program (hit Del on bootup) the information also now shows running the new 1 GHz. Pentium processor. |
|